March 11, 2013

Indoor garden update

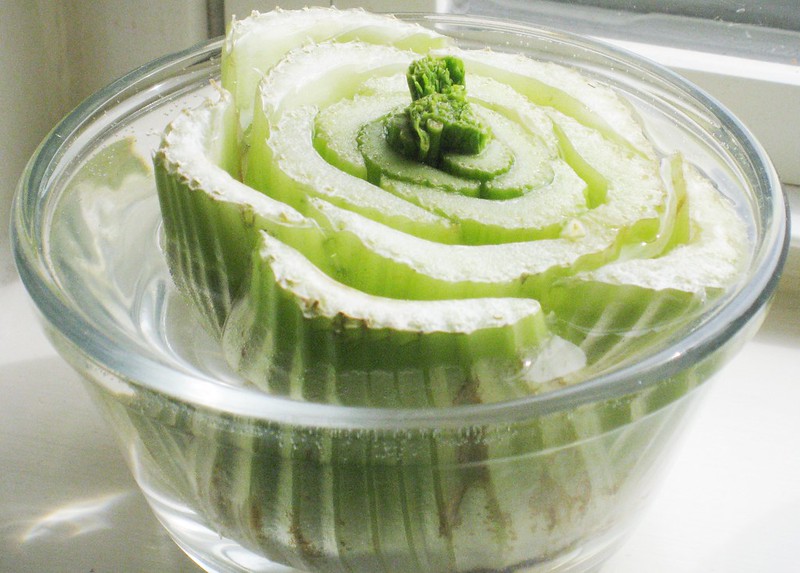
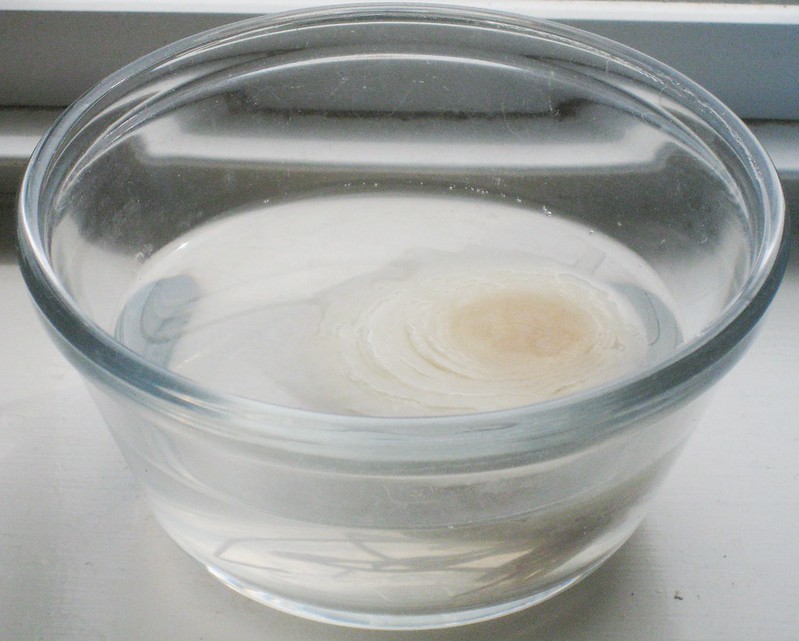
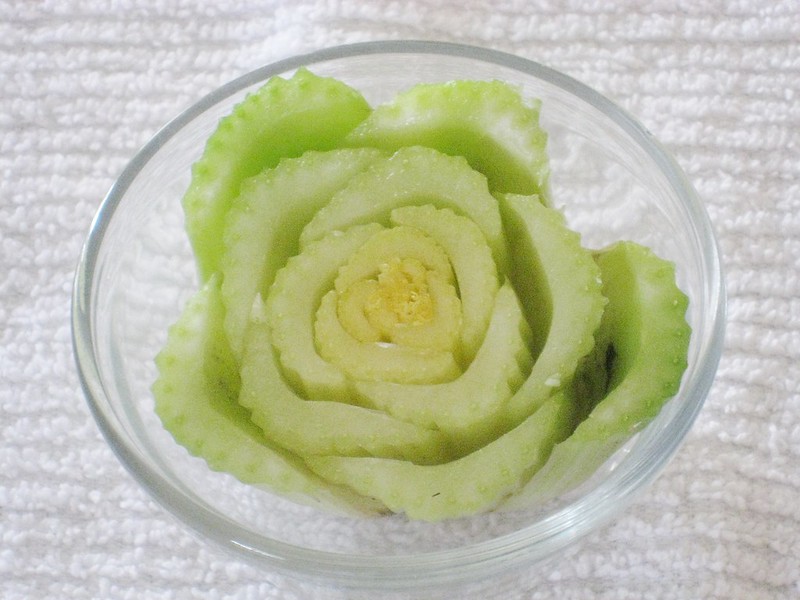
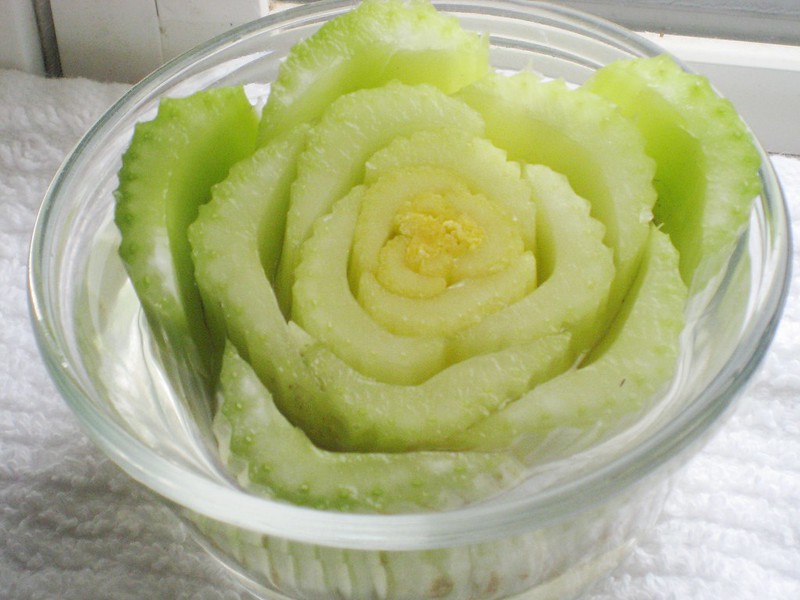
Garden update.....Today is day 6 of my re-grown celery.  Here's the before pics.  Look at the celery growth in the middle.  How awesome is that?  Makes me happy to grow my own foods.


Last week, I also started growing cooking onions.  I started growing a white onion this past Thursday.  It's growing in water.  If it doesn't start to grow I will put it in soil.  

I haven't seen any growth yet in my potatoes or my grape tomatoes.  But they are being watered daily and seem to be happy.  Hopefully, I'll have some growth soon.

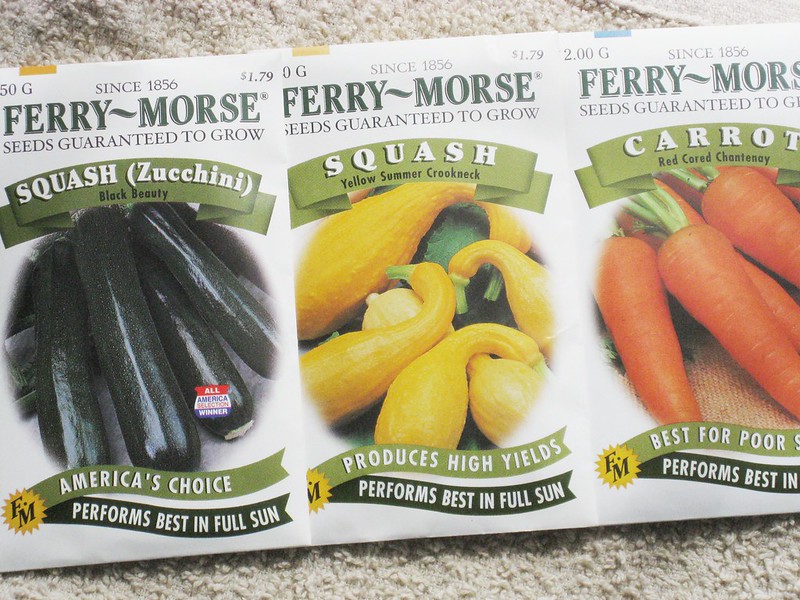
While out and about today I picked up some seed packets.  I got carrots, zucchini, and squash.  :)

Zinnia seeds.  :)  They will help keep bugs away from my tomatoes I plant this spring.

March 9, 2013

Homemade Brownies with Chocolate Chips

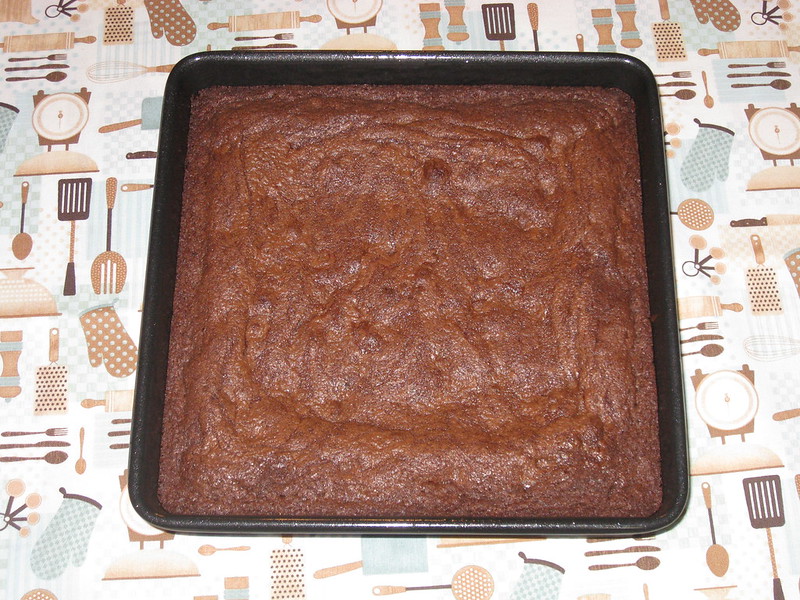
Baking something with chocolate was calling my name this evening.  I immediately went to Pinterest to find a homemade brownie recipe.  I found Lynn's Kitchen Adventures Blog with this easy homemade brownie recipe.  I went right to the kitchen to start dinner and while dinner was cooking I whisked up the brownies.

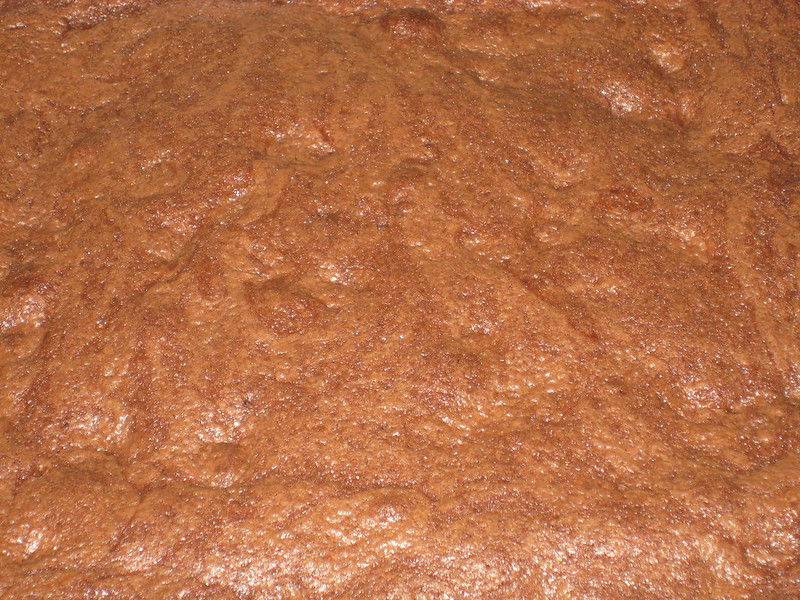
Brownies hot out of the oven.  And the best part....your house will smell divine for hours.  MMMMM


Yummy!


They are so good.  I will never buy box mix again.  From scratch brownies is so easy and so much more delicious plus you know everything that's in them.  :)


Brownie Mix:

*1 1/4 cup flour (all-purpose)
*1 tsp baking powder
*1 tsp salt
*2/3 cup unsweetened cocoa powder
*2 cups white sugar

I mixed the brownie mix in a big bowl with a fork until everything was well combined.  
Note: If you aren't making the brownies right away, you can add the dry mix to a jar or container to have it ready when you want to make them.  :)

If you're making brownies right away, then you add......

*1 cup butter (I used 2 unsalted butter sticks and melted them in the microwave, and then put it in the fridge for a little while to cool down).
*3 eggs
*1 tsp vanilla extract (I of course used my homemade vanilla)

Blend the wet ingredients with the dry with a hand mixer until everything is combined.
  
****I like to add chocolate chips to the brownie batter.  My friend, Dave taught me that years ago and it's GENIUS!  I just added a few handfuls to the batter and then mixed them in.

Add the brownie batter evenly to a pam sprayed brownie pan and then bake on 350 degrees for 22 to 30 minutes or until done.  Use a cake tester to check them.  I think it took my brownies about 30 minutes.  Every oven is different so just keep an eye on them once it's past 20 minutes.  

Once the brownies are done and have cooled, cut into squares, eat and wash them down with a cold cup of milk.  :)  Enjoy!


Do you like the fabric??  I have some big plans for it.  :)

March 5, 2013

Re-Grow your own Potatoes

Okay, so I've just gotten in the growing mood lately.  I started with grape tomatoes, celery, then an onion, and now potatoes.  I'm so glad all this information on 'how to' is on Pinterest.  :)

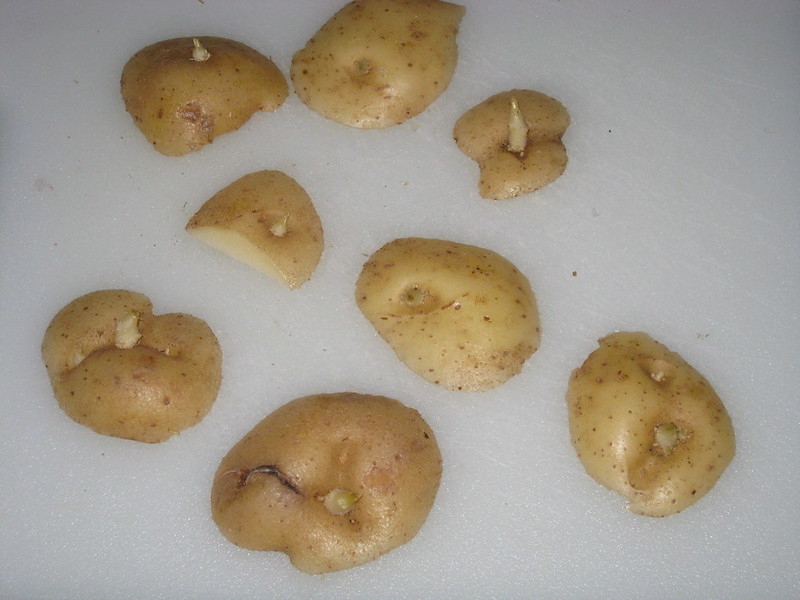
I took out potatoes for dinner.  I was a little angry to see a 5lb bag of white potatoes that I just bought last week with eyes (sprouts) on them all ruined.  But then I thought to myself  "grow potatoes from the sprouts" and I did just that.

I took a few of the sprouts and cut them off the potatoes leaving some potato on them.  The blog I read about growing potatoes says to let them dry out for a few days.  I didn't do that.  I figured they would get wet anyway when I watered, and they were kinda already dry when I took them out the bag.

I placed the soil in a small pot then placed the sprouts inside.  Make sure the eyes are facing up.  I fixed mine after the picture.  :)

Then cover completely with soil.

Here's the potatoes in a pot next to the onion.

I brought them inside and put in a window.  They are next to my grape tomatoes that are growing in egg shells.

Now with all these future veggies, I have to remember to water them so my plant babies grow.  :)

Re-Grow your own onion

I figured since I started re-growing celery that I would try with an onion as well.  Why not right??  I found this blog on pinterest that showed me how to re-grow an onion.  :)

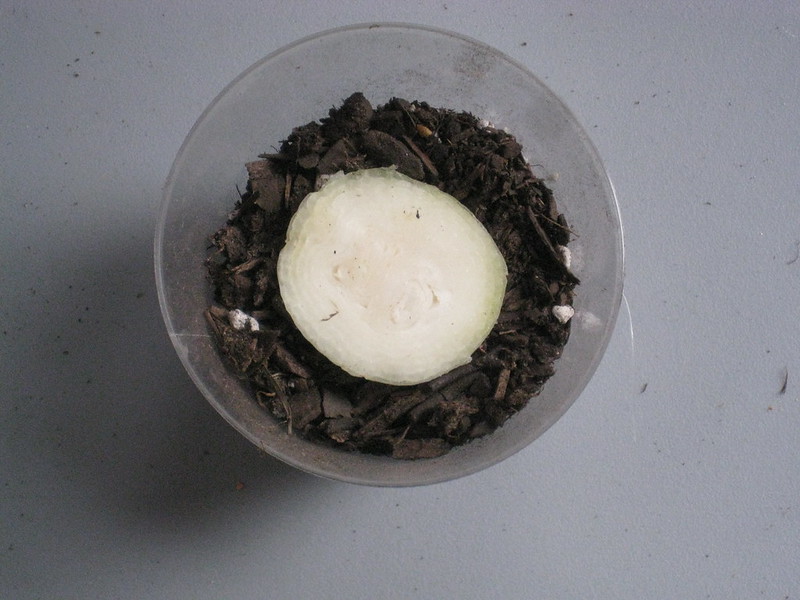
I needed an onion for dinner.  So, I took out a medium yellow cooking onion and cut off the end then prepped the rest of the onion for the dish.

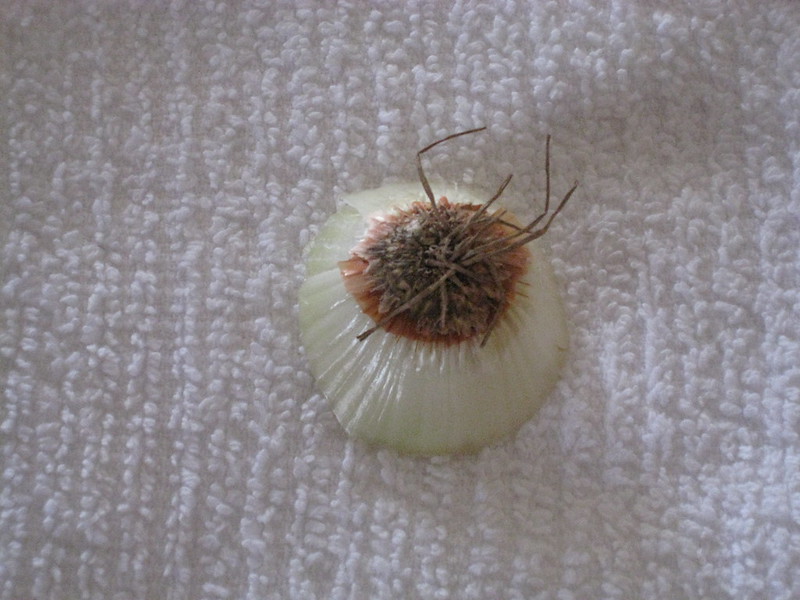
I took most of the peel off of the onion root.

I put some soil in a small plastic cup.  I placed the onion on top (root down) and covered with soil.

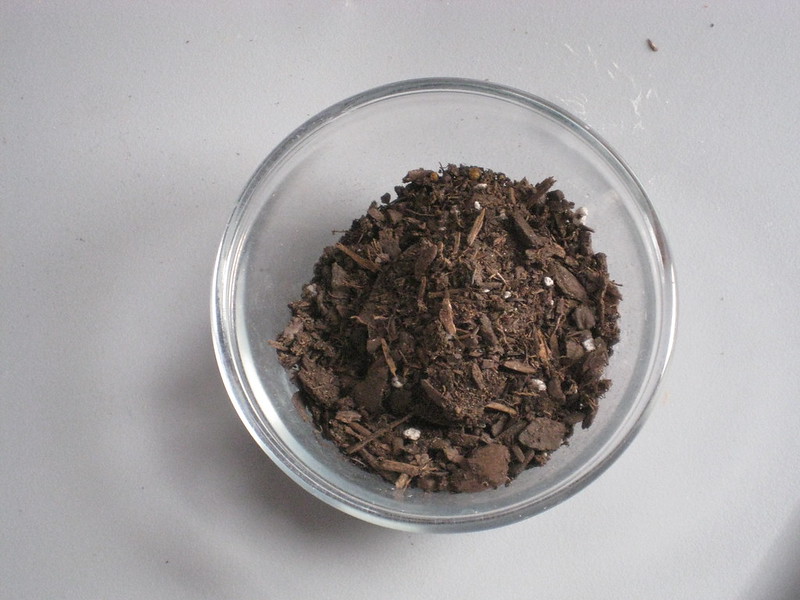
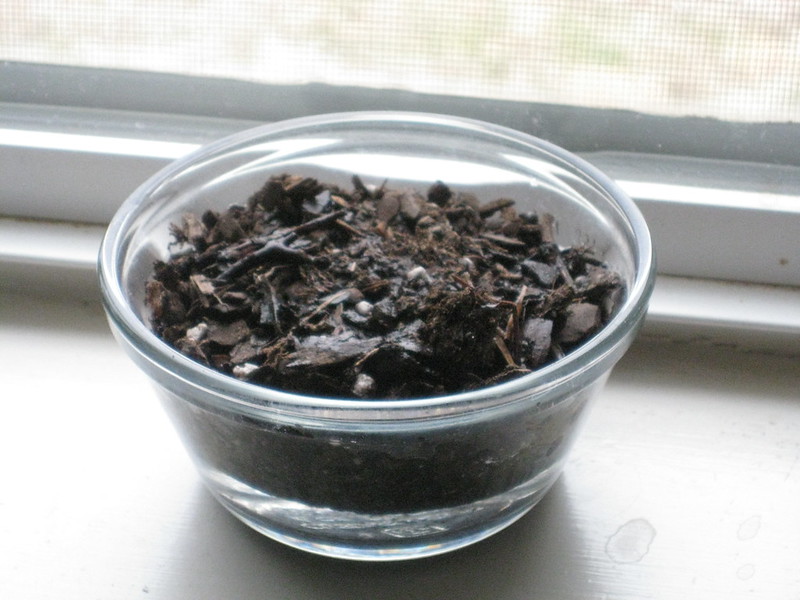
Then I noticed the cup had a crack so I put the dirt and onion root in a small bowl.

Once inside,  put the onion in the kitchen window sill and gave it a drink of water.
We'll see if the onion grows.  :)

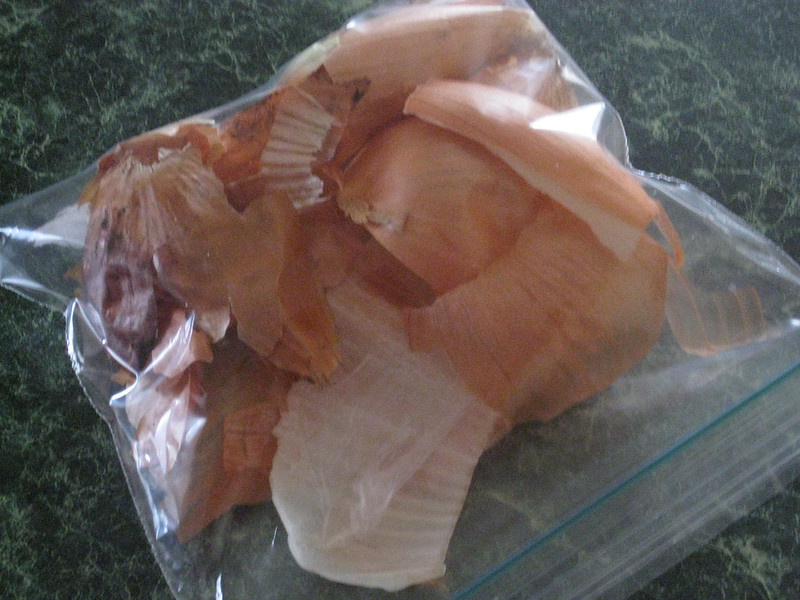
Oh yes, I saved the onion peels and onion ends.  I read that you can make your own organic bug repellent with onion scraps.  To read an extensive list on how to make your own organic sprays for your garden, check out this blog.

UPDATE:  4/6:  I thew out the onion.  It didn't grow at all.  I don't think I cut enough of the onion scrap or maybe I should have had it grown in water for a while before putting it in soil.  We'll see.  I'm going to try again.  The onion scraps, I threw away because mold was forming and it smelled really bad.  GROSS

Re-Grow your own Celery

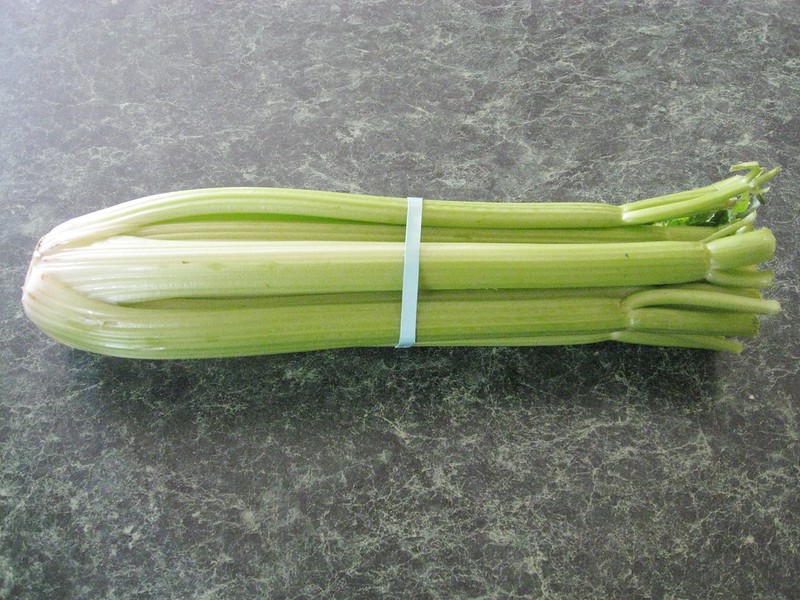
My friend, Kristen inspired me today by re-growing green onions.  How awesome????  Kristen, never has to buy green onions again!!!  I wanted to re-grow something.  I've come across so many tips on Pinterest on how you can re-grow your own veggies.  From potatoes, and onions, to celery.  Today, I bought a stalk of celery from the store to use in dinner tomorrow.  I came across this blog and this blog on how to re-grow celery.  I hope to never buy celery again.  And in case I get a bunch of celery I can't use up right away then I will freeze it.  :)
You won't believe how easy this is.......
First off, get a celery stalk.  Cut off the end.

Place the end in a small bowl or a saucer.

Add water to the bowl.  Sit in a window sill and let it soak in the sunshine.  Today, it's soaking in the clouds because the weather is calling for rain and snow.  But hopefully, it will soak in the sunshine once the sun comes back out.  :)
Be sure to change out the water daily.  I read that the celery should start to have re-growth in 5 to 7 days.  *crosses fingers*  Once re-growth has taken place you can re-plant to a small pot with soil.  I will post updates!  :)  I'm going to try to re-grow onions too.  Wish me luck!


March 4, 2013

Grape Tomato seeds in Egg Shells

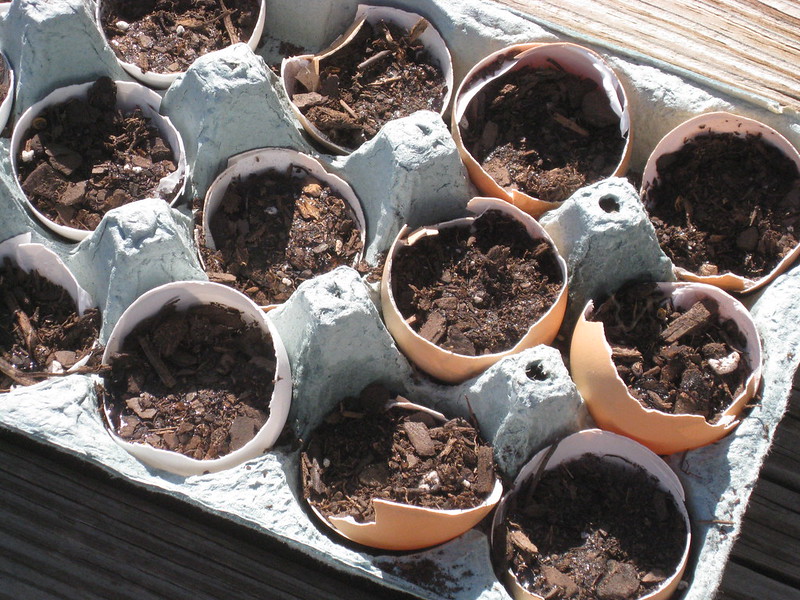
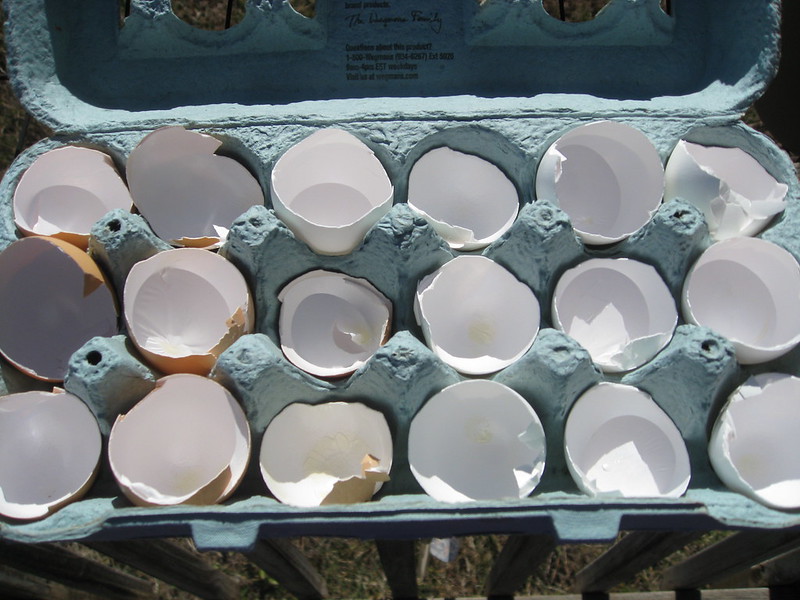
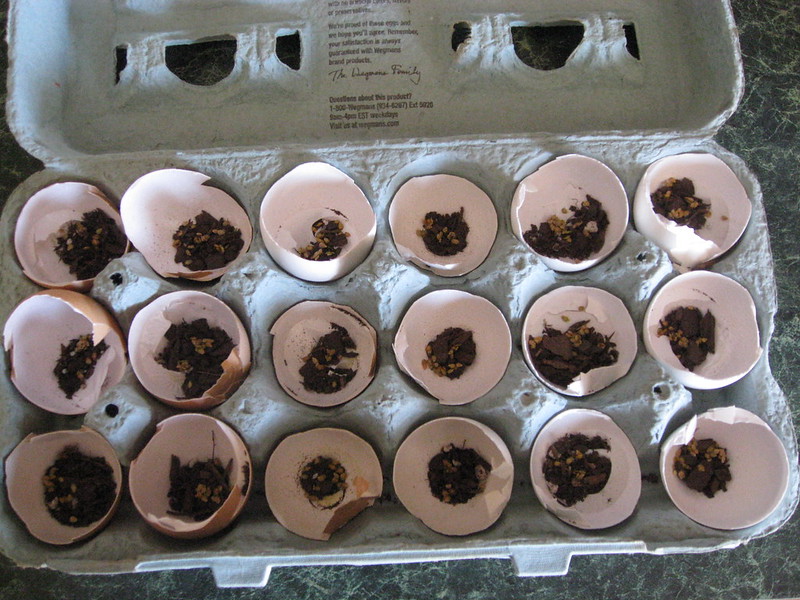
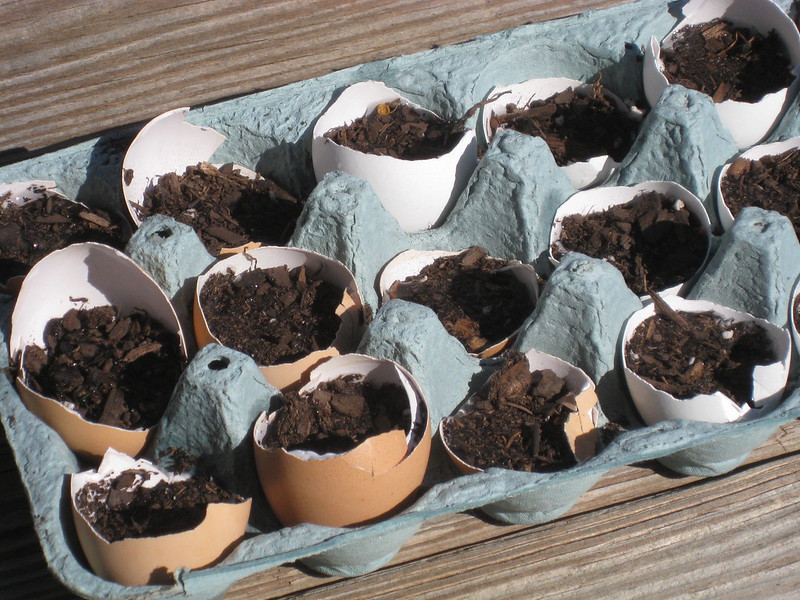
Last year, I started container gardening.  You can use the search bar on the right and search 'garden' to see the progresses. I saw on pinterest that you can use egg shells to start plants from seeds.  I saved my farm fresh egg shells and regular store bought egg shells till I filled up an 18-count egg carton.  After I used the eggs, I washed out the shell and let them dry on a paper towel.  Then I stored them in the egg container.

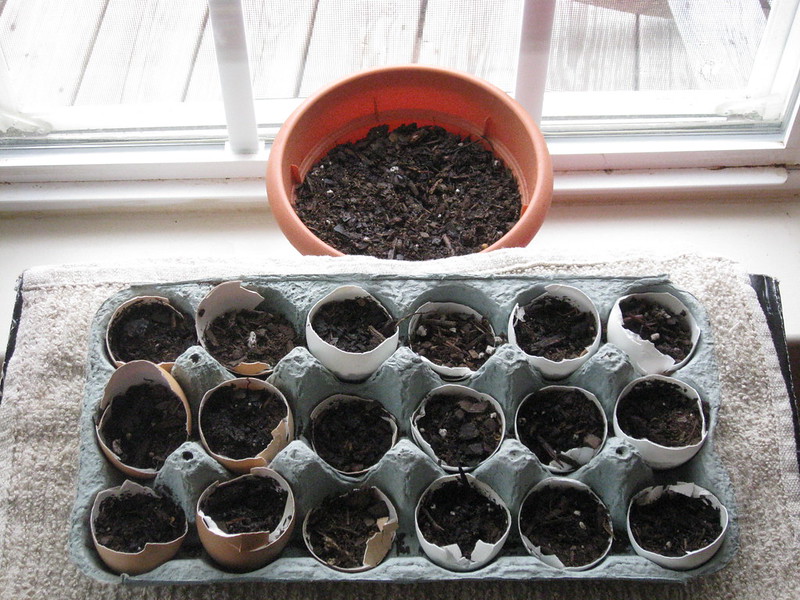
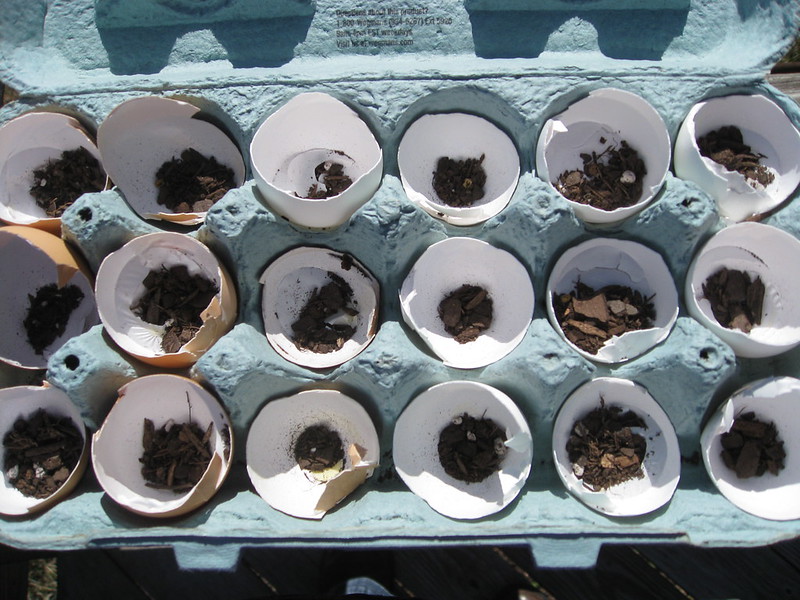
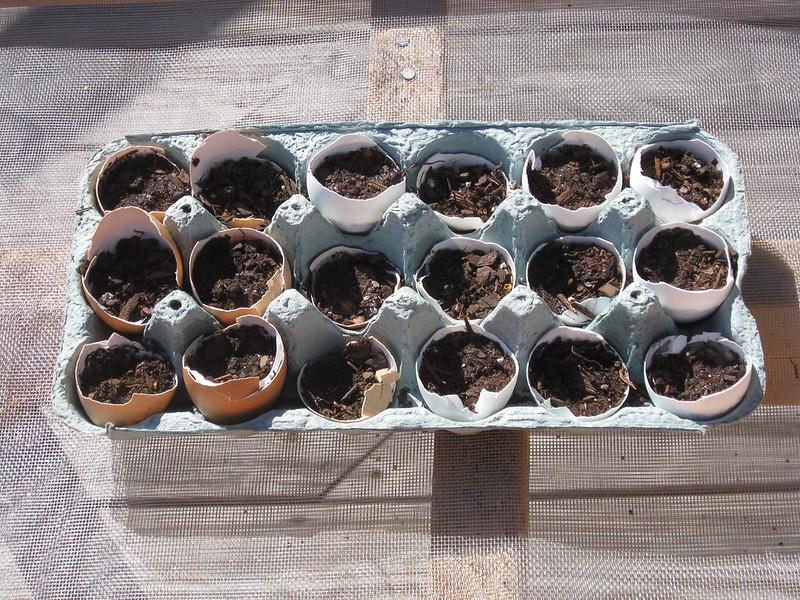
Today, I decided to plant some grape tomato seeds.  Here's what they look like all buried in the egg shells waiting to grow.

Check to make sure all the egg shells are sitting right in the egg tray.

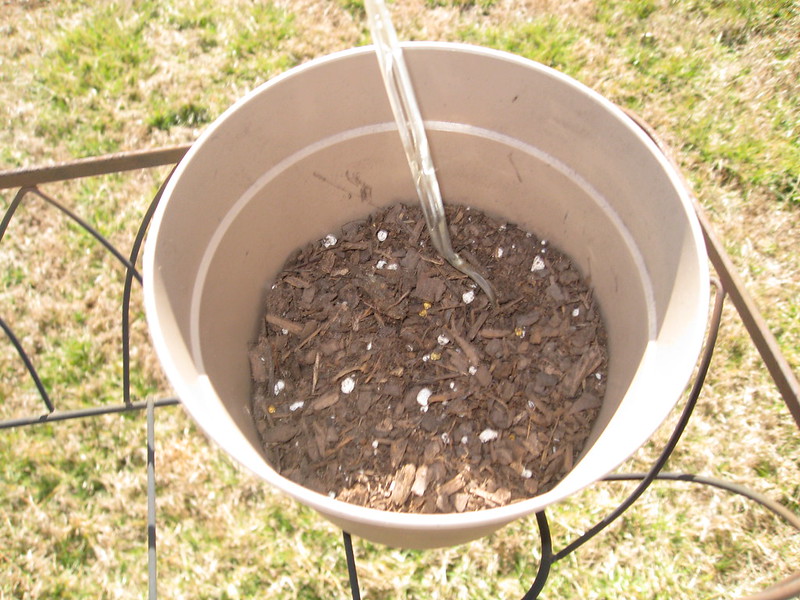
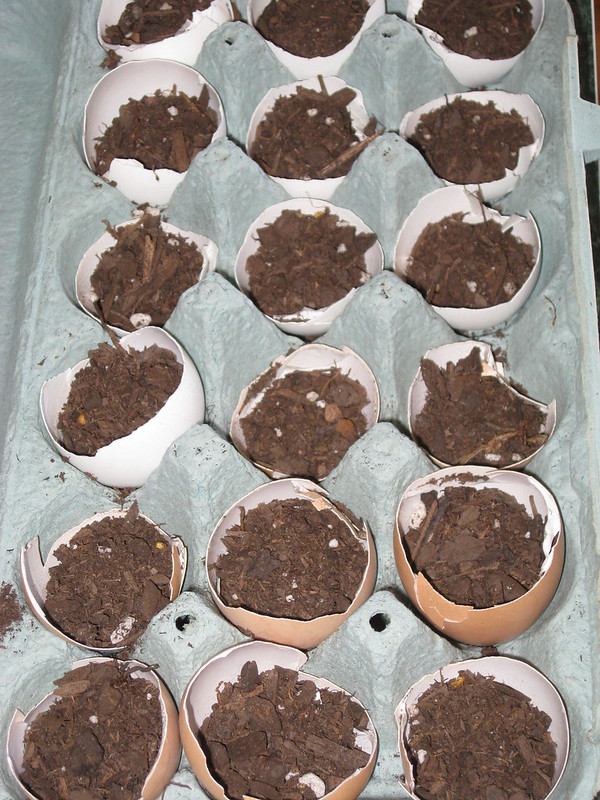
I put some container soil in a small pot and used a plastic spoon to transfer soil to egg shell.

I added a little bit of soil to each egg shell.

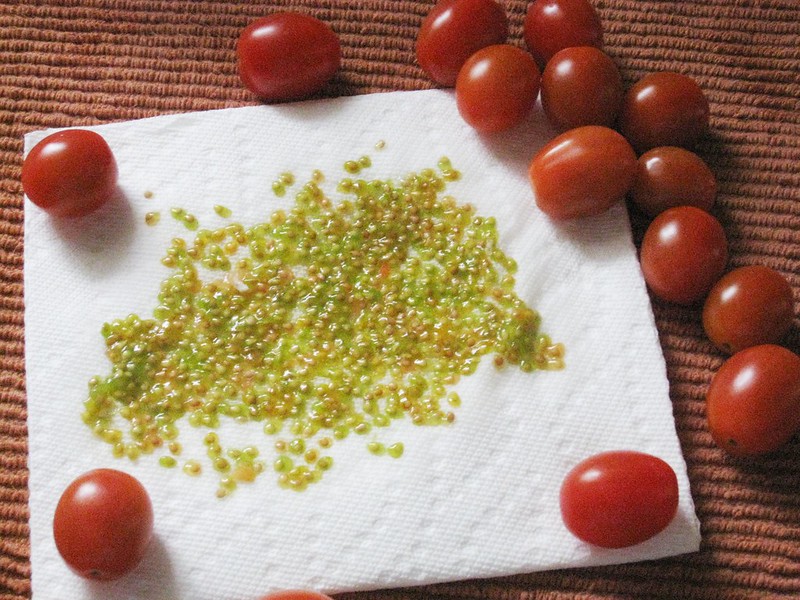
I went inside because it got too windy.  I then added little grape tomato seeds (which I got from store bought grape tomatoes).  I saved the seeds from the tomatoes and washed them real good then dried them on a paper towel.  Once they were dry, they stuck to the paper towel.  I then soaked the paper towel to get the seeds off and then had them dry on a plate and kept them in a ziploc bag until today.  :)
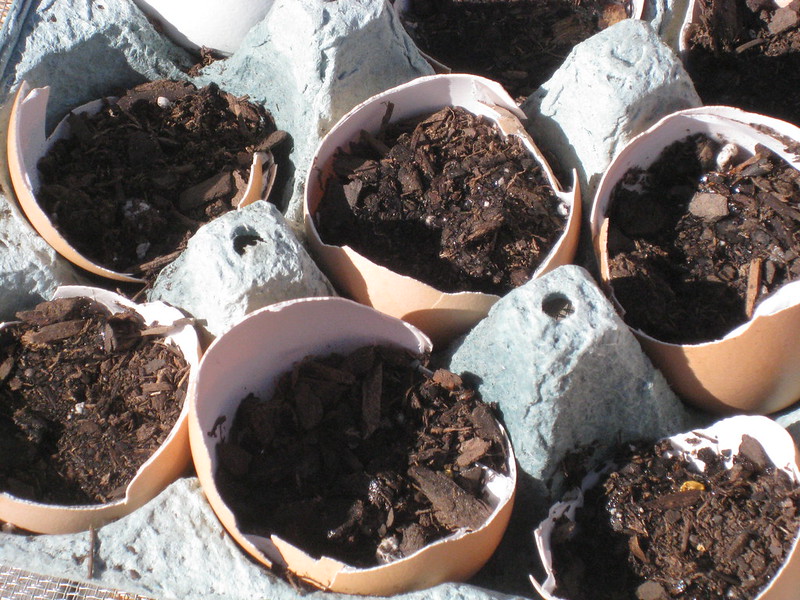
Add a few seeds to the top of the soil in the shell.

Cover each with more soil.  I then took a turkey baster to water each one.

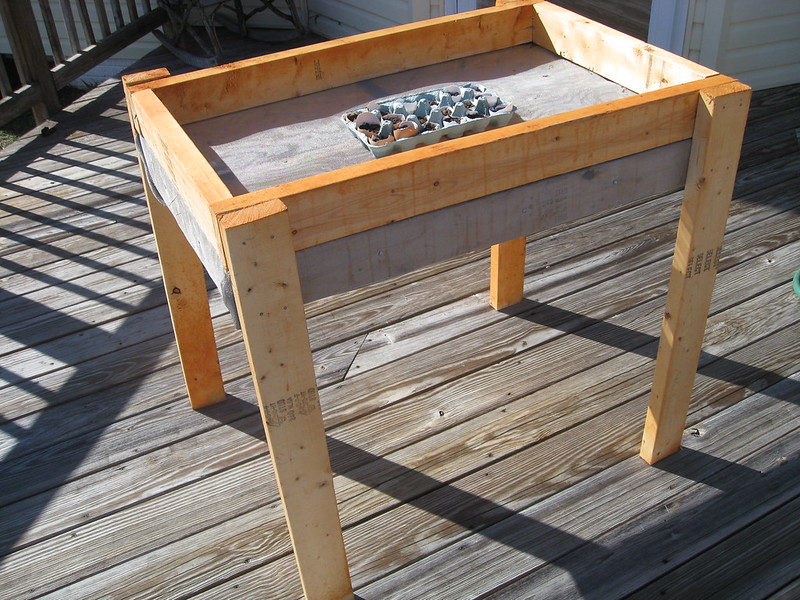
After they all got a drink, I cut off the extra egg carton that I didn't need.  I put the shells outside for some sunshine.  I will keep them in the house for the most part until they grow big enough to put them in a pot.

My husband, made a huge table sluice a few years ago.  This was a project he made for the last time he went  to the mine to dig up garnets.  He brought a ton of dirt home and dug through it for gems using this table.  I thought I blogged about it but I didn't.  OOPS!  :)  I figured this would be a nice to use for putting the shells on when it's nice and sunny and for using as a garden table.  :)
Plant babies sunbathing.

How adorable do they look?  Now let's hope I actually get some grape tomato plants.  :)

March 3, 2013

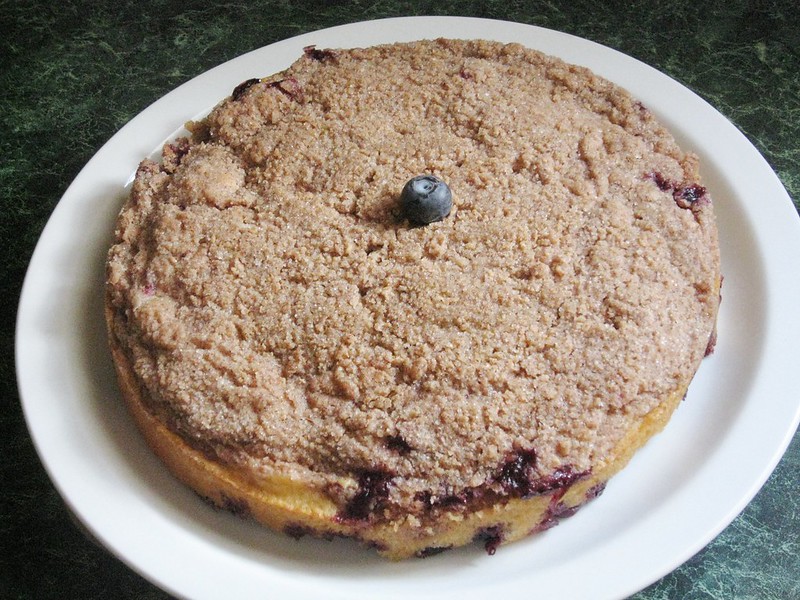
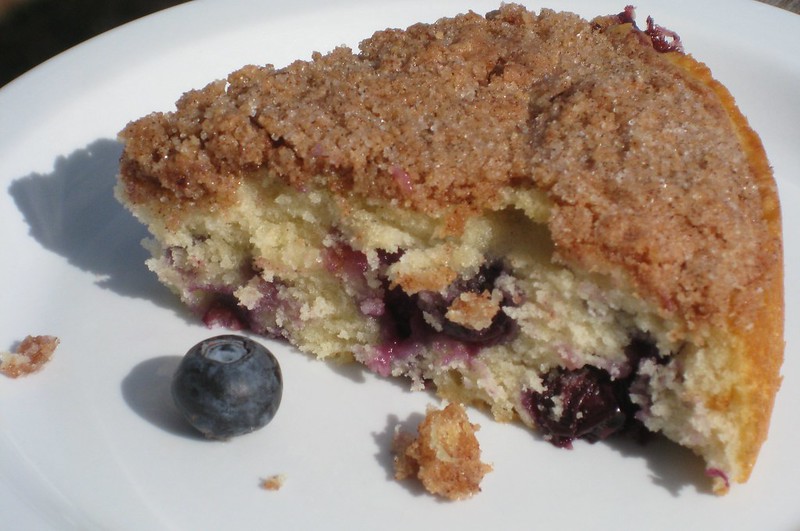
Simple Blueberry Cake with Cinnamon Streusel

I had some leftover blueberries that I wanted to use up before they went bad.  I looked around on Pinterest to find a simple recipe where I had all the ingredients on hand and that I could use my blueberries in.  I came across this one.  I went to the kitchen to bake.....

I had 'The Tales of my Cooking' Blog, up on my laptop so I could follow the recipe.

I gathered all the ingredients and got to work.....

Here's the batter in a small round cake pan.

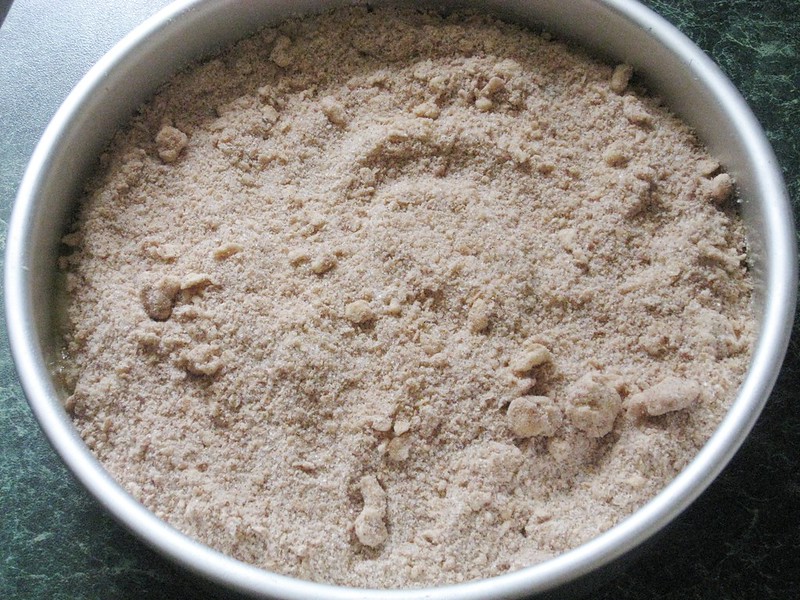
Add your streusel evenly on top.

Bake on 350 degrees for 40 to 50 minutes.  When your cake tester (or toothpick) comes out clean, your blueberry cake is done.  :)

Let cool and enjoy.

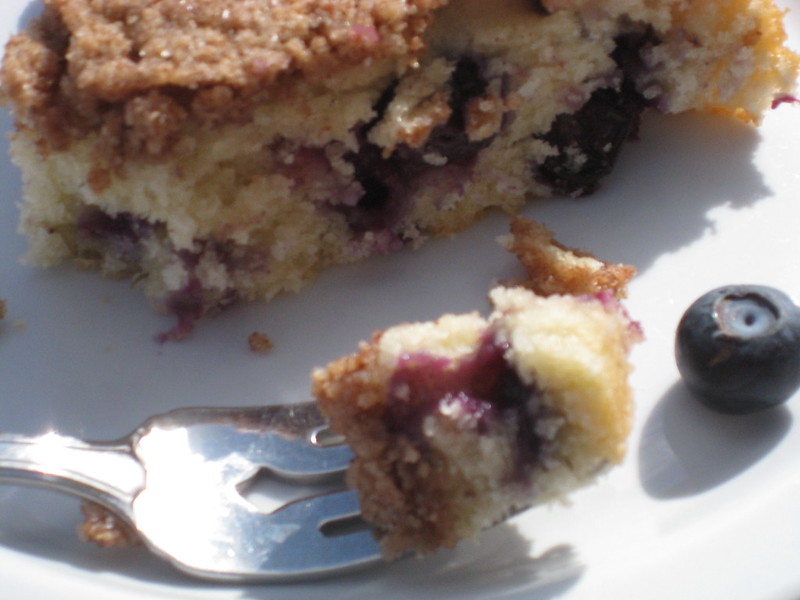
My husband and I loved it.  Best of all we used the blueberries so they wouldn't be wasted and I made a delicious homemade treat.  :)

Streusel Topping:
1/3 cup flour (all purpose)
1/3 cup white sugar
2 tsp cinnamon
1/4 cup of unsalted butter

Blueberry cake batter:
1 cup flour (all purpose)
1/2 cup white sugar
1/4 cup unsalted butter
1 large egg
1 tsp vanilla extract (I used more than original blogger and I used my homemade vanilla)
1 tsp baking powder
1/3 cup milk (fat free)
blueberries (washed)

1.  Preheat your oven to 350 degrees
2.  Mix your streusel topping in a small bowl until it comes to a course crumble powder.
3.  In a large bowl I mixed the cake batter ingredients with my handheld mixer.
4.  Once batter is well combined, gently mix in the blueberries.
5.  Add batter to pam sprayed cake pan.
6.  Add streusel topping evenly on top.
7.  Bake
8.  Cool
9.  Enjoy  :)

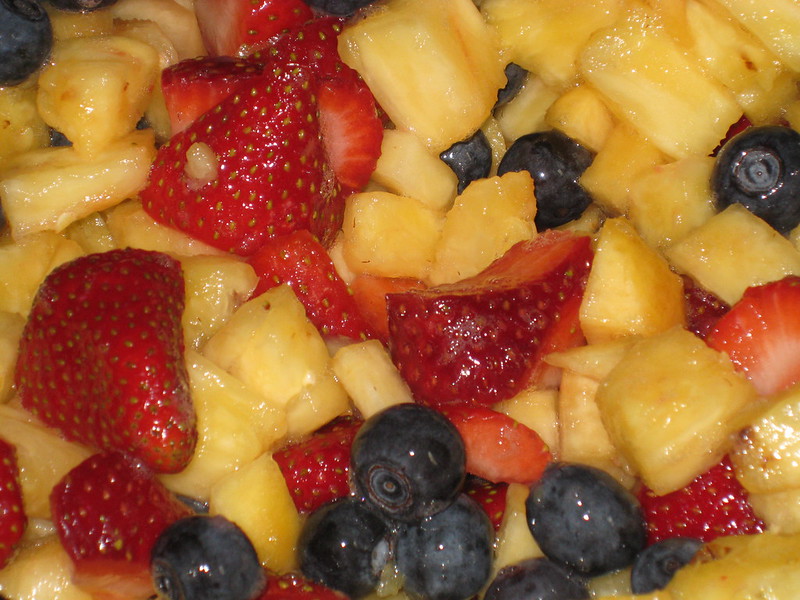
Fruit Salad


I got some fruit the other day from the store.  The strawberries and blueberries were on sale so I got one of each.  I also got a fresh pineapple.  They were on sale too.  I love fresh pineapple and couldn't wait to cut it up.  :)  I wanted one more fruit for the salad so I got two ripe nectarines as well.

I washed all the fruit (except the pineapple) and then cut everything up and added to a big bowl.  I mixed it well and put in the fridge till I was ready to dig in.  I love fruit!